


A situation I have seen with some companies, is that Azure DevOps adoption sort of starts as a playground. But once stuff is getting serious, you might find that projects and repo’s have collected in a counterintuitive way and you want to change the project structure.
Moving the repos can be done in the portal, but it is a bit of a challenge if there are a lot of them. In this post I will explain how you can migrate Azure DevOps repos with PowerShell.
Manual migration
The process we are using is import repositories. This is something you can do manually and it will migrate alle history and branches.
You can find this option when you go to your Azure DevOps organization, open the repos and click the link with the repo name at the top.
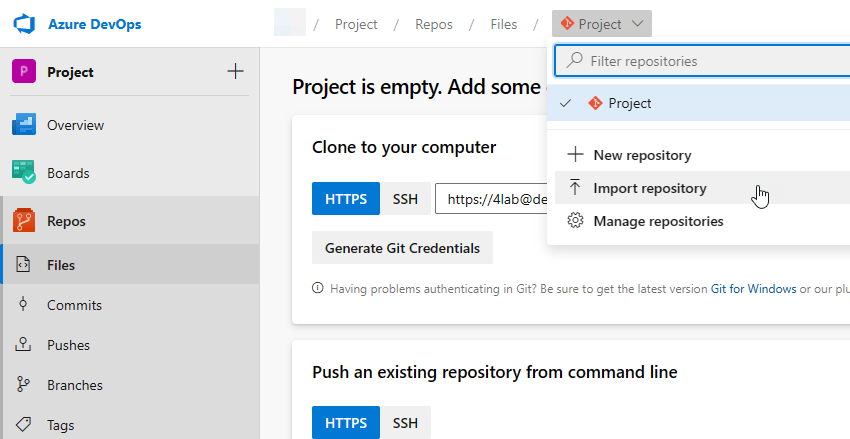
This will give you a menu where you can enter the information on your source repository, credentials if needed and import it into your current project.

This works very well, but if you have a lot of repositories this takes a lot of time. Good thing we can automate it.
Automating it
To automate this process, we can use the Azure DevOps Rest API. I have created a script with a function that runs the complete process.
What the function does:
- It walks through a source repo or all repo’s in a source project, based on the parameters
- A check is done to see if the repo isn’t empty
- It creates a service connection in the destination project
- It imports the repo’s into the destination project. The new repo’s will have the same name as the source repos, unless a name is defined (this only works if one repo is migrated)
- After all repo’s are done, the service connection is removed.
The only thing you need to do manually, is remove the old repos from the source project.
If you want to know more about how calling API’s works with PowerShell, find my previous blog post here.
Create a PAT key
You need to enter a PAT key in the parameters for the function to work. To find out how to create one, click here.
Your token needs the following permissions:
- Code: Reed, write & manage
- Service Connections: Read, query & manage
I recommend to let the token expire as soon as possible. I always set them to expire within a day, as you don’t need them after the job is done.
Using the script
You can get the script from my Gist here. It is also at the bottom of this post.
Copy the code to your local computer and safe it in a file called Invoke-AzDoRepoMigration.ps1. You now have two options:
- Open the script in Visual studio code and run it
- Dot source the script by entering the following line in the terminal (make sure the script is in the same folder as the prompt.)
. .\Invoke-AzDoRepoMigration.ps1
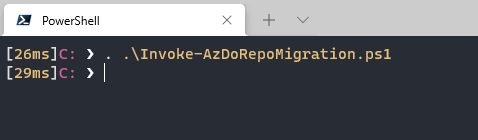
This will make the cmdlet Invoke-AzDoRepoMigration available. You can find more information on the cmdlet by using
Get-Help Invoke-AzDoRepoMigration

Migrate one Repo
Let’s see some examples.
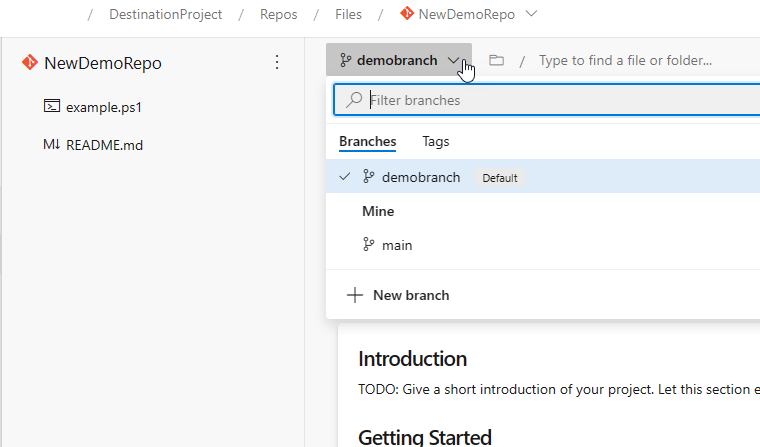
We want to migrate the repository DemoRepo from SourceProject to DestinationProject. In the new project, the repo should be called NewDemoRepo.
We will use this cmdlet:
Note: I am using splatting for the parameters to improve readability. Read more about it here.

If I look at my destination project I will now find the repo with files, commits and branches
Migrate a full project
To really take advantage of the automation, we also have the option to migrate all repos from one project to another.
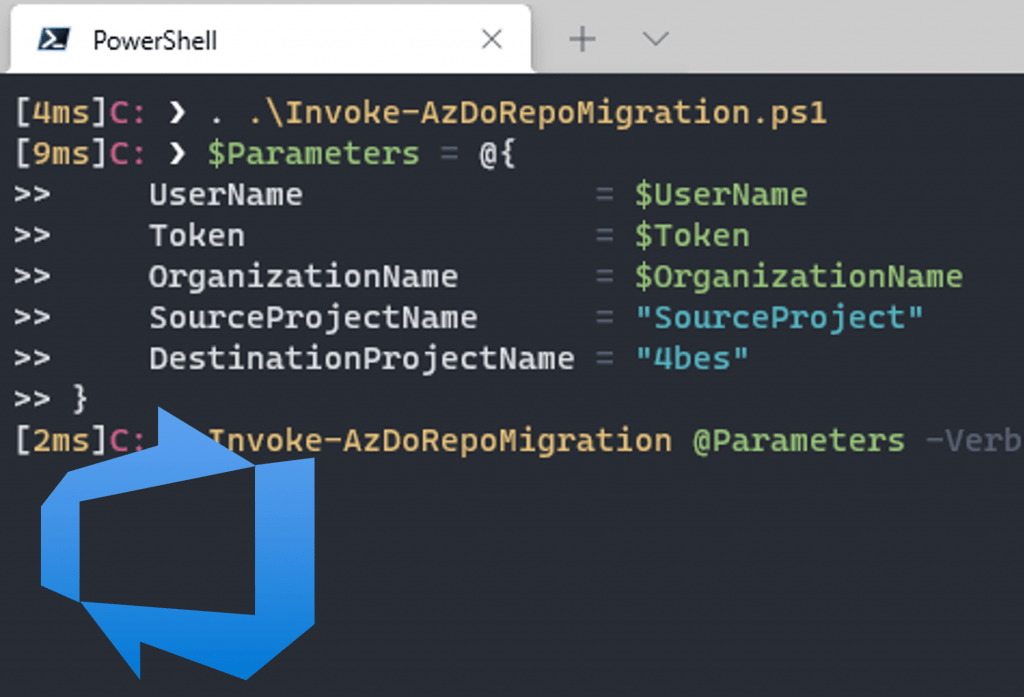
So let’s say we want to migrate all repos from SourceProject to the project 4bes.
We can use the same cmdlet, but leave out the SourceRepoName and DestinationRepoName parameters.

All repos in the source project are now visible in the destination project
Conclusion
So that is how you can Migrate Azure DevOps repos with PowerShell. This little script can be very helpful when you want to restructure your Azure DevOps organization. If you have any questions, leave them in the comments!