After working with GitHub Actions in a workflow, I wanted to find out how to create my own action to use in a pipeline. Specifically, I wanted to know how to create an Action that runs a PowerShell script. In this post, I show you how you can create a composite GitHub Action for PowerShell.
Docker or composite
If you look at the GitHub documentation (which is excellent by the way!), you will see there are different ways to create an action: Docker, JavaScript or composite. For the use of a PowerShell script, JavaScript doesn’t really make sense. So the choice is between Docker and composite.
I think Docker can be a better option in a lot of cases. For example if you make use of PowerShell modules, Docker will be a better fit. It also gives you far more control over the environment in which your script is running.
I wanted to try composite for two different reasons:
- My script has no dependencies and there are no modules involved.
- A docker action can only run on an agent with Linux OS. I wanted something that is more versatile. By using a composite action, the action can run on Windows, Linux and MacOS.
The example Action: Password generator
To show the process we are going to follow, I’m going to use an example. I have created an Action that will generate a password. This gives a string that can be used or for example as a local password if you deploy a VM.
Note: There is a good chance of this string being exposed somewhere in the logs when another step uses it. So use with care! This is best suited for lab/demo purposes or temporary passwords.
Create a GitHub Repository
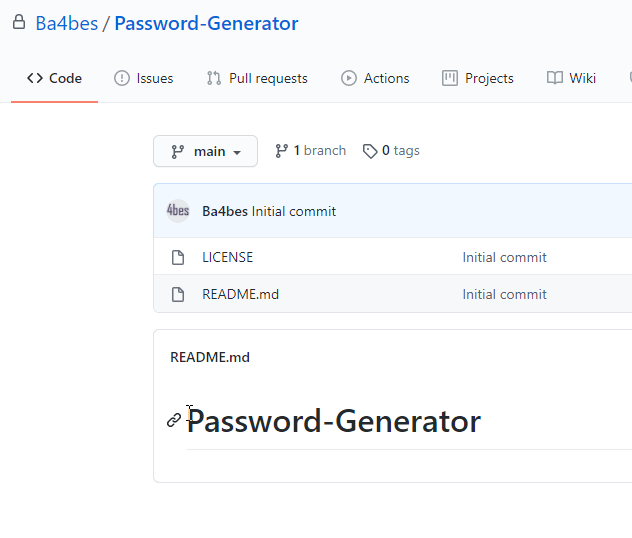
The first thing we do, is create a GitHub repository. This needs to be a public repository and the name of the repo will be the name of the action (at least before the action is published). I will call mine Password-Generator. I have initialized it with a License and a Readme. It is strongly recommended to have a dedicated repository for each action.
Clone this repository to your local computer to work with it.
Create a PowerShell file
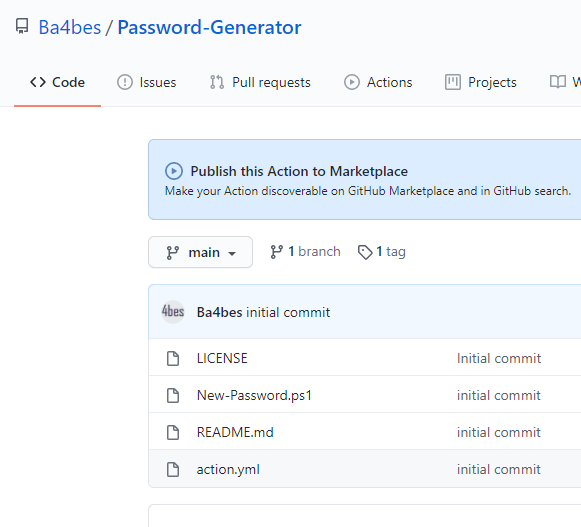
On you local device, create the PowerShell script that actually performs the action. You can have multiple scripts if that works better, so you can run them in order through the action.yml file. For my example, I have created the script New-Password.ps1.
Create an output
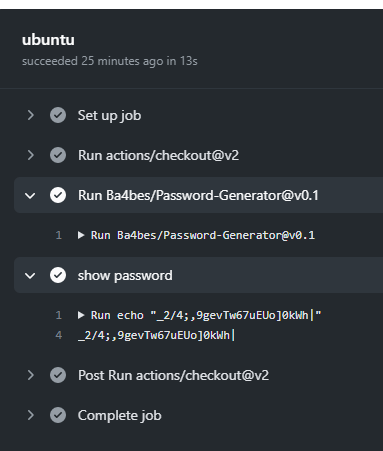
I want my action to give an output: the password. I want the user to be able to call the output from a different step. To do this, you can add a line with the following syntax to the PowerShell script:
echo “::set-output name=password::$GeneratedPassword“
Create an action.yml file
Next, we create an action.yml file. This file contains all the metadata of the Action. It basically describes what the action is, what input it can take, what output it gives and what steps to run.
This for example is the action.yml file for my Action:
To get a full description of the syntax, Find the GitHub documentation here.
Now, all we need to do is write a description in the readme. After that we are ready to push to GitHub.
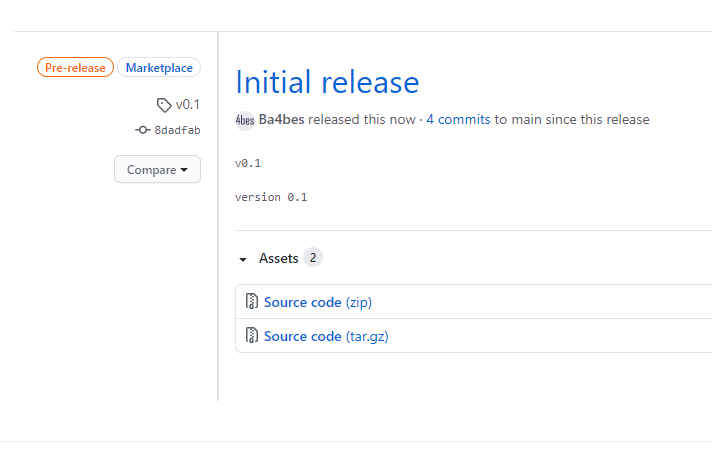
Push with a tag
We can now commit our code. Before we do that, we need to append a tag that describes a version to the push, so it becomes a release. That way, in the workflow file the version of your Action can be defined to ensure continuity for the person that is using your action.
Use the following commands:
git tag -a -m "version 0.1" v0.1
git push --follow-tags

The files should now be visible in your repository.
Use your action
Your action is ready to use, even though it is now in the market place. You can refer to it from a workflow by the repository name.
To do so, open up another repository where you want to call the action from. Create a new workflow and refer to your action with the following syntax:
Uses: [GitHubAccountName]/[repoName]@v[version]
In my case, my job looks like this (if you want to test this you can use this code in your workflow as the repository is publicly available):
Publish to the Market place
The Action is now available for everyone to use in a workflow. But it will not pop up if people are looking for an action in the marketplace. To make it visible, you can publish your action.
GitHub has a step by step guide available to find out how to publish to the marketplace, which is a great resource for this process.
One of the challenges I found was to come up with a unique name for the action in the action.yml file. I have not been able to find a way to see beforehand if a name is already taken. Notice also that this name cannot match a user or organization name. You are able to use spaces though, so with some trial and error you should be able to create a unique name.

There also needs to be some branding, but the menu helps you pretty well with setting this up.
You can find my final action.yml here.
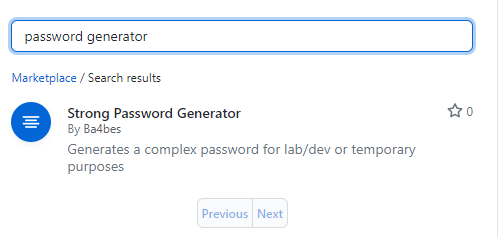
My Action has now been published!
If I search in the market place it now pops up.
I can develop from the GitHub repository and push new releases as the action is improving.
Conclusion
So this is how you can create a composite GitHub Action for PowerShell. As I said before, this is one way to do it, there are multiple options. I hope this post can give some guidance if you want to create your own action. If you have any questions, please leave them in the comments!