


In my last blogpost, I explained how to deploy ARM templates through an Azure DevOps pipeline. This time, I want to show you how to create the same pipeline in GitHub Actions. This way you could deploy directly from your GitHub repository without using another product in between. Keep reading to find out step by step how to test and deploy ARM Templates with GitHub Actions.
Wat are GitHub Actions?
GitHub Actions can be used for automation around your GitHub repository. They can help with testing, building and deploying your code. Some of its functionality is similar to Azure DevOps pipelines. Find out more about the basics here.
What’s in this guide?
As said, we will create a pipeline to test and deploy ARM Templates with GitHub Actions. There are a lot of different ways to test ARM templates and there are a lot of different ways to create this pipeline, so this will be just one way. My goal is to give you a pipeline that you can further develop to fit your needs.
At the end of this guide you will have a GitHub Action with two jobs: the first tests the ARM templates with the What-if options. When the commit was to master, the templates will be deployed directly to Azure.
Note: This guide was created when the default branch was named master. If you start this guide now, it the default branch will be called main. I will change this guide when I find time. Now if you want to follow this guide on a newer repository, replace master with main.
Note: This guide uses the ARM what-if functionality, which currently is in preview. This means results are not perfect yet. Read more about it here.
Prerequisites
- You need a GitHub account. You can make one for free here.
- Being familiar with basic GIT concepts helps the process a lot. If you are not, find out more about getting started with GIT here.
- You have a GitHub repository ready with the ARM templates. If you want to follow along with this guide, I recommend using the repository I have made available for this guide. Find it here and fork or download it to your own environment. This setup will work with any other ARM templates you would want to deploy.
Preparation
Before we can start the Test and Deploy pipeline for ARM Templates with GitHub Actions, we need to do some preparations.
Create a Azure Service Principal
To deploy to Azure, you need to create an Azure Service Principal and give it permissions to create resources. To find out how to create the service principal and what permissions it needs, you can follow that part of this post.
Collect the Azure service principal credentials
We need GitHub to have a connection with the Azure Tenant. To do this, it uses the ClientID, the clientSecret, the SubscriptionId and the tenantID of the service principal we just created.
You can collect all this information from the portal, but it’s easier to use the Cloud Shell and put the credentials in the correct format for GitHub. To do this, you can use this code:
Note: you can also run this code locally if you are not able to use the CloudShell. Make sure you have installed the AZ module, the AzureAD module and are connected to your Azure Subscription
Running it in the Cloud Shell will look like this. What you want to do now, is copy the part between the brackets at the final output.
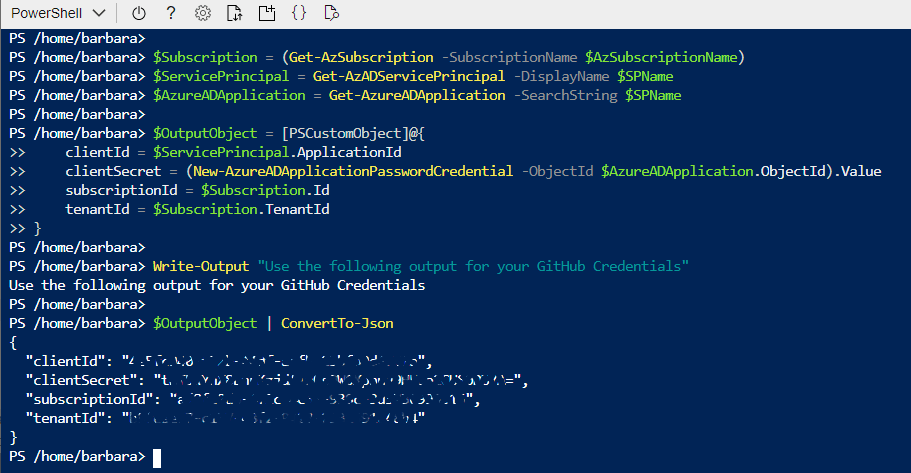

So this will leave you with a JSON object that looks like this (with different values of course).
{
    "clientId": "12345678-1234-abcd-1234-12345678abcd",
    "clientSecret": "abcdefghijklmnopqrstuwvxyz1234567890=",
    "subscriptionId": "12345678-1234-abcd-1234-12345678abcd",
    "tenantId": "12345678-1234-abcd-1234-12345678abcd"
}
Store the Azure Credentials
Open the GitHub Repository where your ARM templates are stored.
Click on Settings all the way to the right.


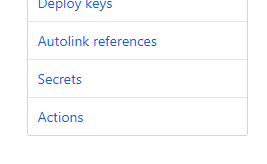
In the left menu, select secrets.

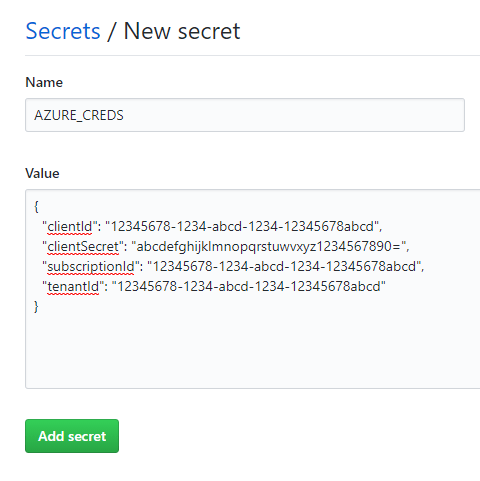
As you can see, you can safely store secrets here to use in the pipeline. You will not be able to view the secrets later, although you will be able to use them. Select New Secret at the top right.
Fill in the name AZURE_CREDS (or another name if you prefer, but this is what I will be using here. Copy and paste the JSON object you created earlier in the value box and click Add secret.

Create the GitHub Actions
Let’s move on the the actual GitHub Actions. In the menu at the top, click Actions.


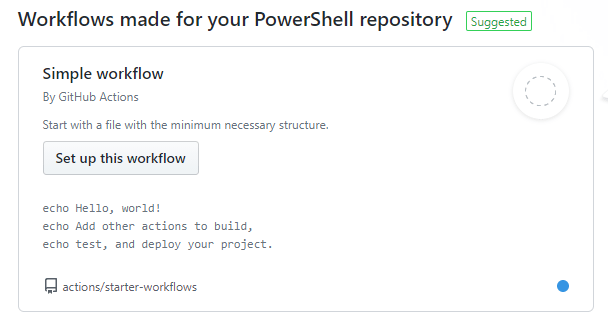
If you scroll done this page, you will find a lot of example workflows, which show the possibilities of GitHub Actions. For our use case, we are going to create the workflow with the Simple Workflow. Click Set up this workflow.

We now get a basic overview of what a GitHub Actions workflow could look like.
First, change the name of the file. You can select a name that works for you, I chose
ARMdeploy.yml.


Let’s walk through the elements we can now see on the screen.
Name
You can create a name for the workflow, which will become handy when you are using multiple workflows for the repository.
On
Here you can choose a trigger. The default is to run only when a commit to the master branch is made. We want this pipeline to run at every change in the repository. To do that, we change it into this:
on:
  [push, pull_request]
Jobs
You can create multiple jobs to do what we need. Each job can be run an a different agent. We will be creating two jobs for this pipeline, one for building and one for the deployment.
Runs-on
Here you can define the OS of the agent you want to use. For the ARM templates, you have multiple options that will work. We will leave the default.
Uses: actions/checkout
This default action can be used to access all your code. The repository is copied to the workplace. This also means you can access all files with the variable $GITHUB_WORKSPACE.
Other tasks
The other tasks are example tasks to create Hello-World actions.
We will remove them.
You should now have the following code:
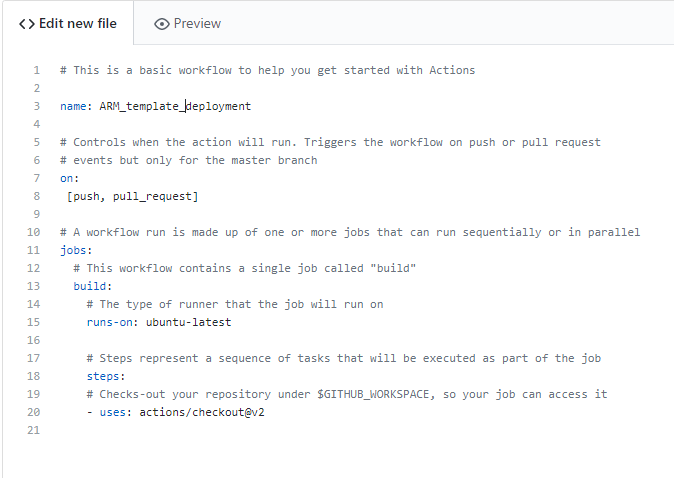

(The code is all shared at the end of this post).
Add tasks
To find tasks, you use the marketplace, which you can find at the right of the screen. Here are tasks provided by GitHub or Microsoft, but also a lot of tasks that other users have created. If you start typing in the search bar, the tasks will start appearing.
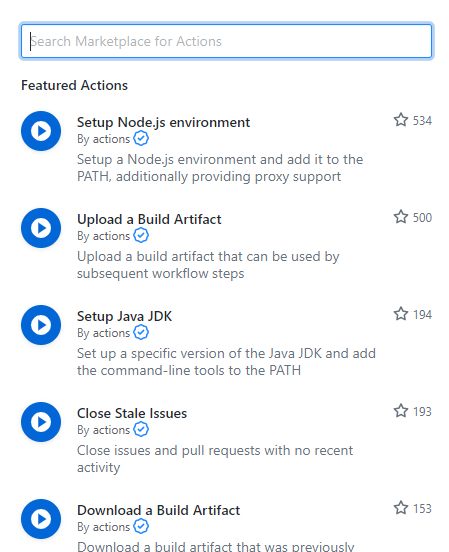

We are going to add some steps to test our ARM templates.
First, we need to connect to Azure. Search for Azure Login, which will help you find the Azure Login task.
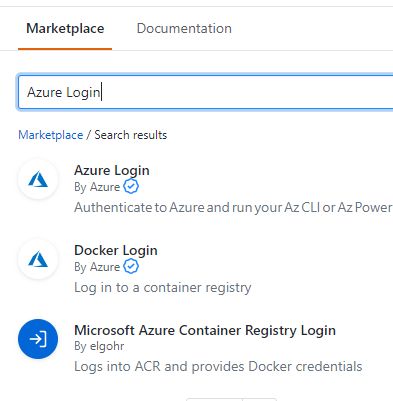

Click the task Azure Login.


All tasks have a similar interface. If you click View Full Marketplace listing, you get more information about the task. For now, just copy and paste the code snippet into the YAML file. You might have to fix indentation, it needs to be the same as in the snippet.
After creds:, enter ${{ secrets.AZURE_CREDS }}. This will add the secret we created earlier. We will use Azure Powershell later, so after enable-AzPSSession, type true. You’re task should now look like this:


Install the module
The next step is to install the module for WhatIf, as it is still a preview module. We are going to use the Azure PowerShell task for the installation. At the right of the screen, click Market Place to go back to the marketplace. Search for Azure PowerShell and copy and paste the code snippet into your YAML file. You need to fix the indentation again. If you get confused about the indentation, look at the example at the right.

Now you have to fill in the paths. As you can see, the red curly lines can tell you there are some issues. If you hoover your mouse above it, it will tell you what to do.

Let’s fill it in. Set the version of the AZ module to latest. For the inline script, you will install the preview module. Remove the two optional options for this step. The result will be like this:
Test what resources will be deployed
The module is installed, now you can create an output to see the resources that would be deployed. Again you use the Azure PowerShell Action. To do that, you paste a bigger piece of code in there, which is no problem in the pipeline. Copy and paste the following code:
$Parameters = @{
    ResourcegroupName    = "ARMDeploymentTest"
    Templatefile         = ".\StorageAccount\azuredeploy.json"
    TemplateParameterfile = ".\StorageAccount\azuredeploy.parameters.json"
    Mode                 = 'Incremental'
}
$Result = Get-AzResourceGroupDeploymentWhatIfResult @Parameters
$Result
The step should now look like this:
Checking if resources would be deleted
We will use one more test: Check if resources would be deleted. For this, there is a script available in the repository, in the tests folder. (If you are using your own repository structure, you can copy and paste the script from the example repository. The point for now is to see how you can call a script in the PowerShell task.
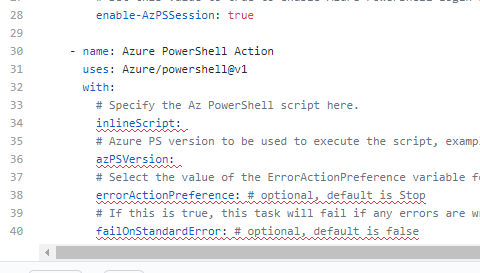
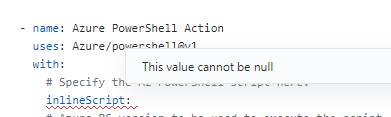
You use the same step as before, Azure PowerShell. From here, you can refer to the location of the script. The result would look like this:
    - name: Show resources
      uses: Azure/powershell@v1
      with:
        # Specify the Az PowerShell script here.
        inlineScript:  .\Tests\CheckForDeletion.ps1 -ResourceGroup ARMDeploymentTest

        # Azure PS version to be used to execute the script, example: 1.8.0, 2.8.0, 3.4.0. To use the latest version, specify "latest".
        azPSVersion: latest
Note: For this example, the deployment mode is inconsistent. I have first used incremental and after that complete. I did that to show what the script that checks for deletion does. For your use case, choose the one that works best for you and use that for both tasks.
Let’s save the file to see what output we have now. Click Start commit at the top right.

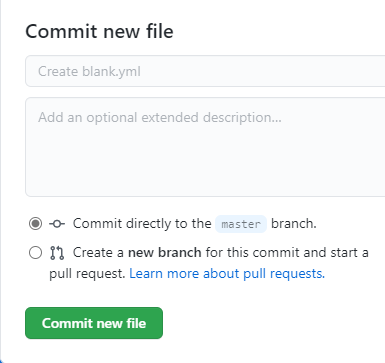
Click Commit new file to commit straight to master.

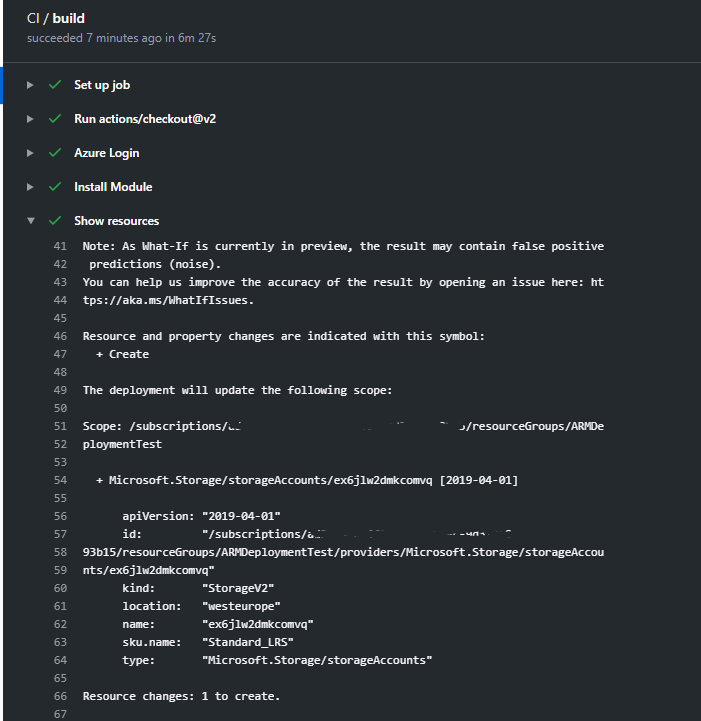
You can now see your file in the repository. Click Actions to see the process of the pipeline.


Wait for the pipeline to finish and click on it. You can now see the different steps we created. Here you can also find the resources that would be deployed.
Note: The Azure Login step can take 5+ minutes. Don’t panic if it takes some time.

Deploying the ARM template
Now that the tests are completed, it’s time to deploy the ARM Templates with GitHub Actions.
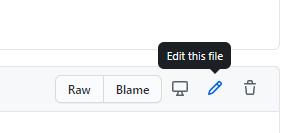
First, open up the file again. You can find it in your repository in the folder .github/workflows. Select the pencil to edit the file. When you do, it will open back up in the screen with the editor.

To create a deployment stage, open a new job.
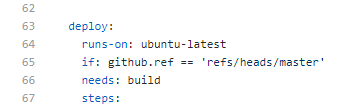
Press space twice and then type in deploy:
This will start a new job. Enter the following code after that:

Some new commands here:
If
With If, you can define that there is a condition for this job to run. With the code here, you say the job can only run if the commit that triggered it was to the master branch.
Needs
Needs helps to set dependencies. This job will only run if build has finished, it will not run before that.
Deploy the template
First, Add the same two steps you started the first job with: Checkout the repository and connect to Azure. You can just copy and paste them from the previous job.
After that, we need to deploy the template. There are some different tasks that can do that for you, but to keep it simple we will stay with Azure PowerShell. Copy and paste the task from the right like you did before, now using the following code
$Parameters = @{
    ResourcegroupName    = "ARMDeploymentTest"
    Templatefile         = ".\StorageAccount\azuredeploy.json"
    TemplateParameterfile = ".\StorageAccount\azuredeploy.parameters.json"
    Mode                 = 'Incremental'
}
$Result = New-AZResourceGroupDeployment @Parameters
$Result
So the deploy job should now look like this:
Click start commit again to save your changed. Caution, this will save the file to master. This means that it will deploy that storage account to Azure.

Conclusion
And that’s it. This is how you can test and deploy ARM Templates with GitHub Actions. This guide could be used for any ARM template that you need. If you want, it is possible to skip steps. In the end, the deployment is made to your Azure tenant.
To find the complete code to the pipeline, click HERE.