About a year and a half ago, I wrote a blog post about how you can use Azure DevOps for ARM templates. But developments are going fast and exciting new possibilities are available. So it is time for a v2.0! You can find the previous post here.
What’s in this guide?
There are a lot of different options and this will be one way to do this. My goal is to give you a pipeline that you can further develop to fit your needs.
At the end of this guide you will have a multistage YAML pipeline that first tests the ARM templates with the What-if options. When the commit was to master, the templates will be deployed directly to Azure.
In previous posts we worked from an Azure DevOps repository.
In this post, we will be using a Github repository for the ARM templates. The steps to take are pretty much the same, so you should be able to translate to an Azure DevOps repository without issues.
Note: This guide was created when the default branch was named master. If you start this guide now, it the default branch will be called main. I will change this guide when I find time. Now if you want to follow this guide on a newer repository, replace master with main.
Note: This guide uses the ARM what-if functionality, which currently is in preview. This means results are not perfect yet. Read more about it here.
Prerequisites
- You have Azure DevOps set up already. If you have not, find out how to here.
- You are familiar with basic GIT concepts. If you are not, find out more about getting started with GIT here.
- You have a GitHub or Azure DevOps repository ready with the ARM templates. If you want to follow along with this guide, I recommend using the repository I have made available for this guide. Find it here and fork or download it to your own environment. This setup will work with any other ARM templates you would want to deploy.
Create the Azure Connection
The first thing we need to do, is create a connection to the Azure tenant where we want to deploy to. To do this, open your project and click Project settings at the bottom left.

In the menu, find Service Connections.
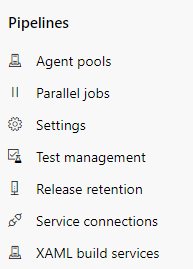
Click Create service connection (if you had created a connection before, you can find the button at the top right.

Select� Azure Resource Manager�
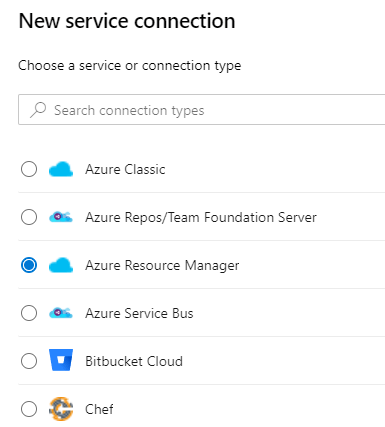
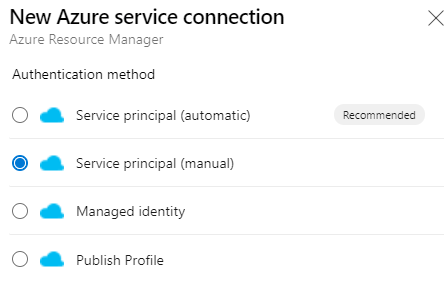
If your Azure DevOps AD is connected to the Azure tenant where the subscription is (and you have the right permissions), you can select Service principal (automatic). You will be guided with creating a service connection.
If the tenant is not connected or you want more control, you can create a connection manually. If you want to know how, read this blogpost.
Create a pipeline
Let’s start the pipeline so we can use Azure DevOps for ARM templates. Open the project you are going to use. Open Pipelines and then again pipelines in the menu on the left.
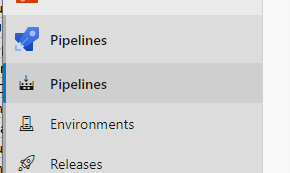
Click Create Pipeline to get started.
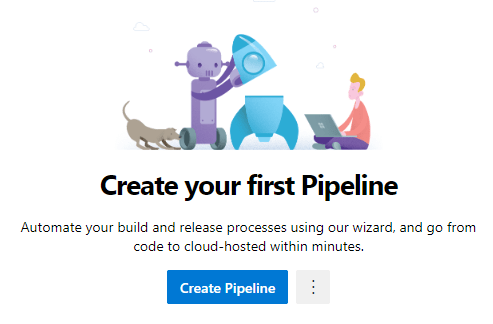
if other pipelines already exist in this project, you can find the same button at the top right.
The first thing you decide, is what kind of repository you want to use. If your templates are in the Azure DevOps repos, you can select the top option. I have my templates in my GitHub repository, so I am going to select GitHub. After you do that, you will be asked to sign in to GitHub to create a connection. For the rest of the post, the steps are the same.

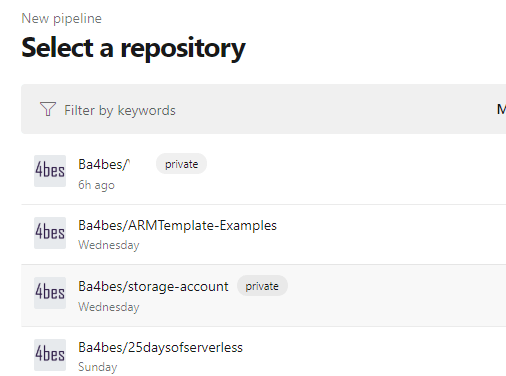
In the next screen, you select the repository where your templates are stored.
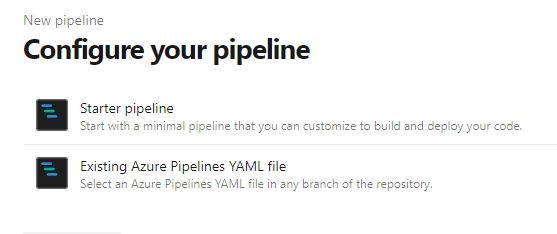
In the next menu, you have the option to use and existing Azure Pipelines YAML file if you already have one. We are going to create it, so select Starter pipeline.
A basic YAML file opens.
Start the YAML file
One thing is very important to know beforehand and might not be intuitive if you are used to working with JSON and/or PowerShell:
With YAML for a pipeline file, indentation and capitalization matters! The code will fail if you get it wrong.
Some elements are already filled in in the YAML file. The nice thing about the web interface is that you will have intelliSense to help you write your code. This is what that looks like:
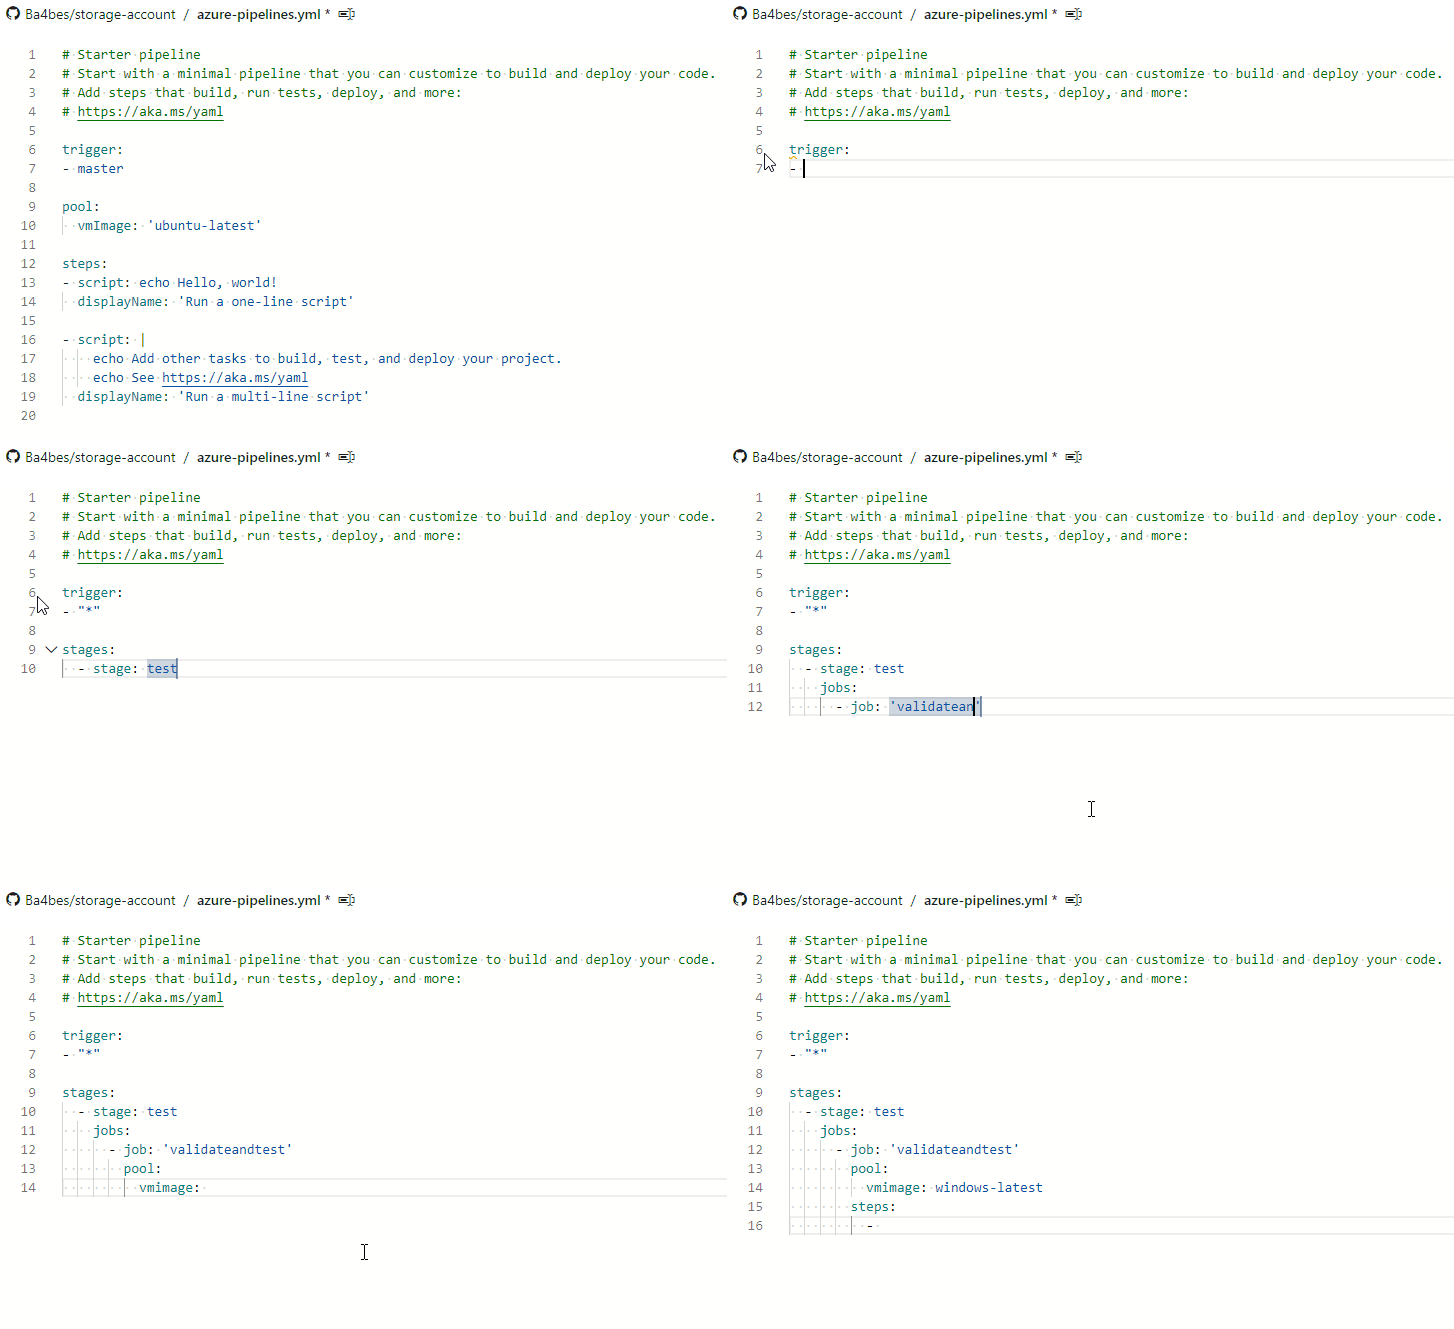
This can be very helpful with setting up your first pipeline. For now, remove the code on the screen and replace it with this code:
This means the following:
- Trigger: The pipeline will be triggered by every commit to every branch of the git repository
- Stages: This pipeline is a multi-stage pipeline
- Stage: The first stage is called test
- Job: The first job is called validateandtest
- pool: De image that is used is the latest version of the Windows image that Microsoft provides
Create the first task
When you get to the steps, we will make use of the assistant. On the right, click Show assistant.
![]()
You get a list of all the tasks that are available. Let’s start with ARM Template validation. This task will check if the template is in a correct format, simular to running Test-AzResourceGroupDeployment locally.
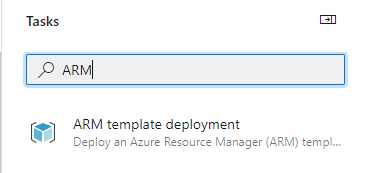
Type ARM into the search bar to get the ARM template deplyoment task. Click it to open the menu.
Here you can fill in the settings for your validation. Fill in the following values:
| Deployment scope | ResourceGroup |
| Azure Resource Manager Connection | Select the name of the connection you created before |
| Subscription | Select the subscription you want to use from the drop down menu. Don’t see that subscription? Check the permissions of your Service Principal. |
| Action | Create or update resource group |
| Resourcegroup | Select one from the drop down menu or type a name for a new one. For this example I use “ARMDeploymentTest“ |
| Location | Select the location for your resourcegroup |
| Template | The Path to the Template. To refer to the root folder, use $(Build.SourcesDirectory). After that enter the path in your repository. For our example, you use $(Build.SourcesDirectory)/StorageAccount/azuredeploy.json |
| Template Parameters | As with the template, you use $(Build.SourcesDirectory)/StorageAccount/azuredeploy.parameters.json |
| Override template parameters | Here you are able to create new parameters for the deployment. For example, you could paste -StorageAccounPrefix “examp” here to use that as your storage account prefix. This can make your deployment a lot more flexible. For this example we will leave it empty |
| Deployment Mode | Validation only |
Before you click Add, there is something very important: Your cursor needs to be at the correct place. The task will be pasted into the YAML file wherever your cursor is.
To get the right position, remove the dash on line 16 of the yaml and put the cursor directly under steps. Click add.
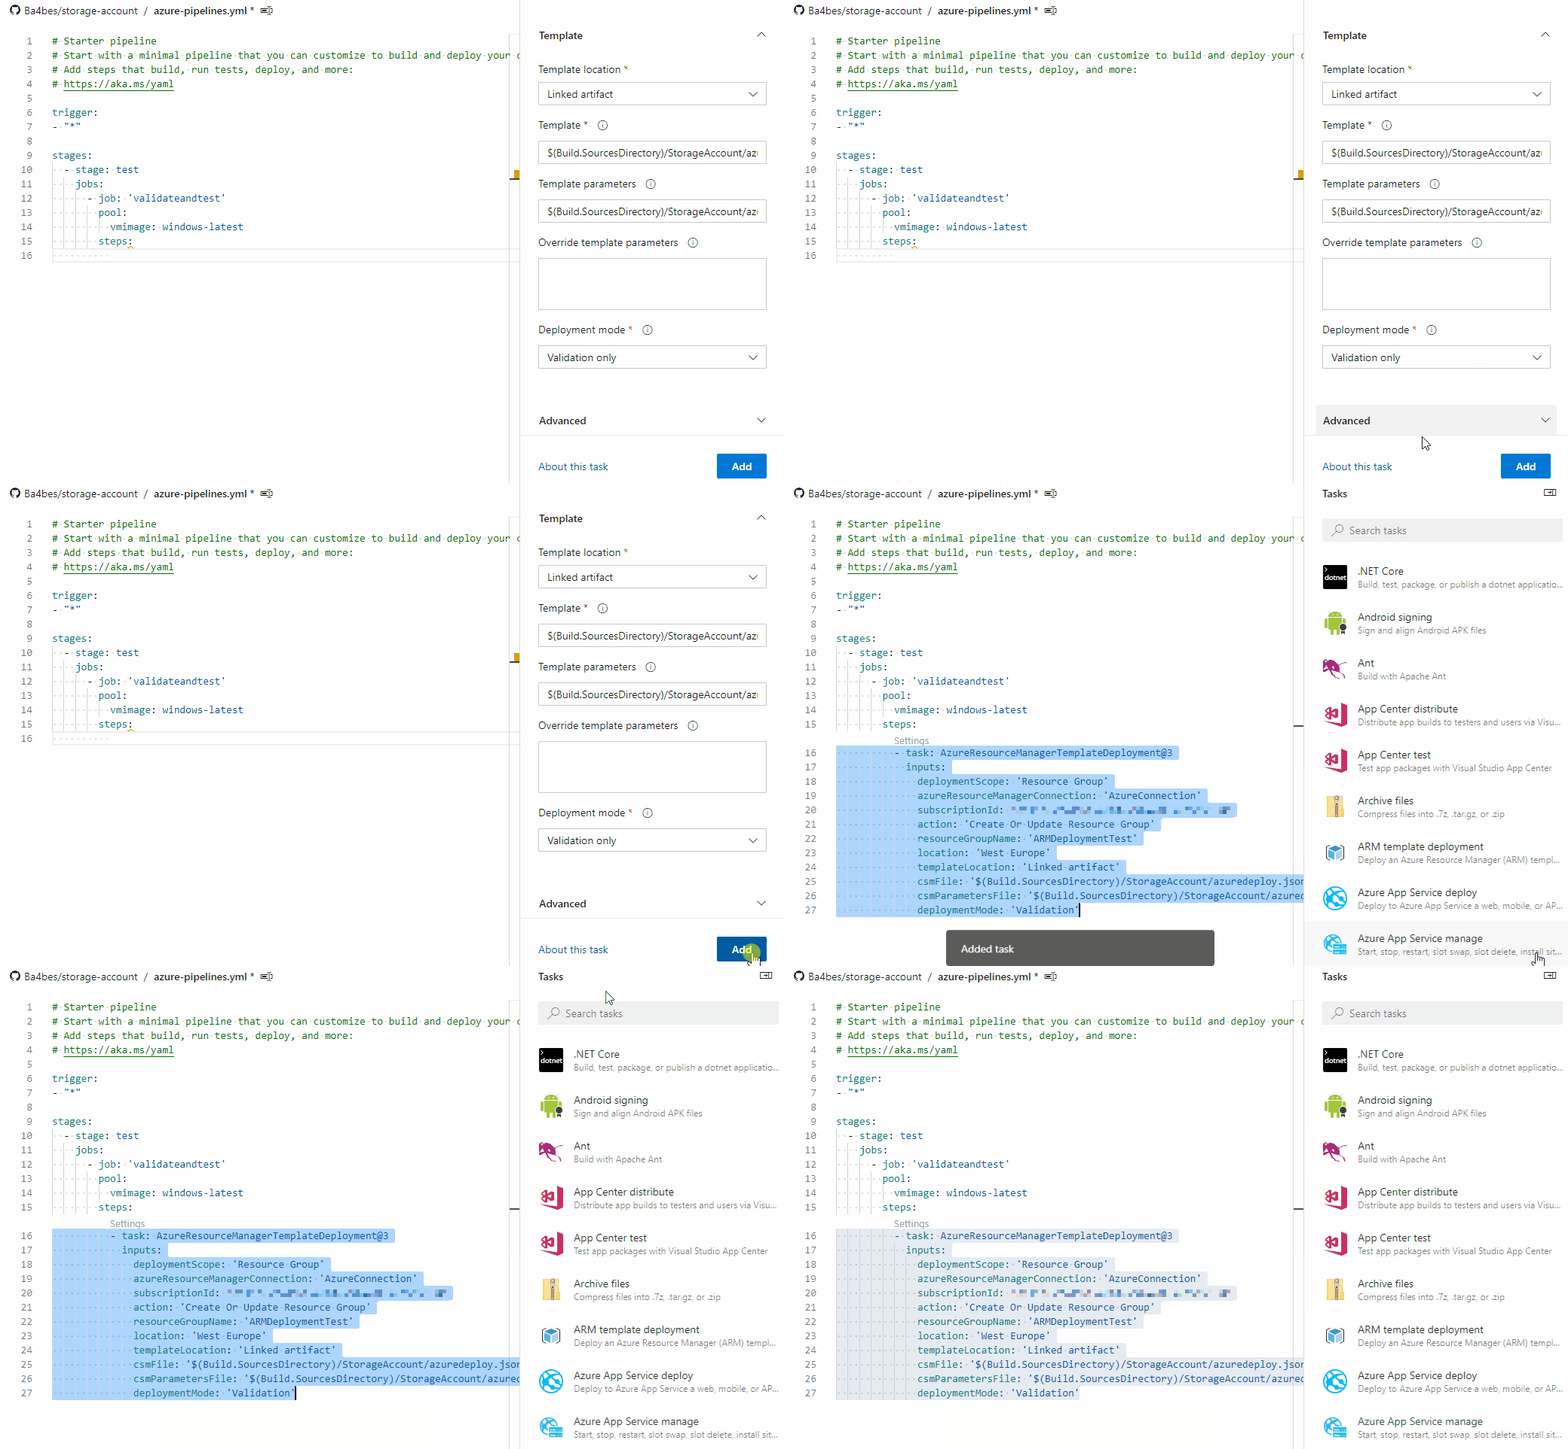
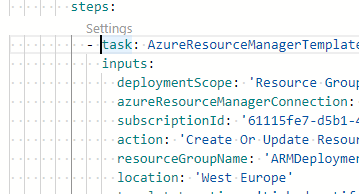
As you see now, the task is translated to YAML. If you want to change things, you can choose to do it directly in the YAML file, or by clicking Settings above the task. This will make the assistant appear again.
Install the module
Let’s do another task. We will be using a preview Az.Resources module later, as the what-if option is not in the regular module yet. We install the module so we can use it later. In the assistant, search for PowerShell to find the PowerShell Task.

you have two options here:
- File path: Here you can enter the path to a PowerShell file in your repository
- Inline script: Here you can copy and paste the code directly into the pipeline
We can install the module with a one liner, so Inline is the best fit. In the script box, copy the following:
Install-Module Az.Resources -RequiredVersion 1.12.1-preview -AllowPrerelease -Force -Scope CurrentUser
Put the cursor on the right position in tthe YAML file (under the current task starting at the same indentation as the one before) and click Add.
Display the resources
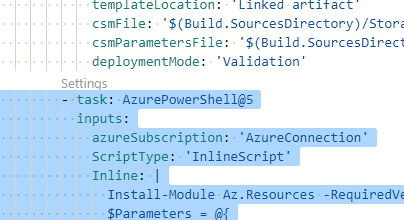
To display the resources, we use the Azure PowerShell task, so we can make use of the direct connection to Azure.
In the Assistant, type Azure PowerShell to find the Azure PowerShell task.

First you enter the name of your Azure Connection. After that you have the same options as in the regular PowerShell task. Select inline script and copy and paste the following into the Inline Script box:
Note that the resource group in this example needs to exist. I recommend using the same resource group as in the validation task.
Under PowerShell versions, you can select Latest installed version.
Note: Azure PowerShell does get breaking changes when new versions are available. If you want to keep complete control of your pipeline, you could specify a specific version of the module here.
Don’t forget to put your cursor in the correct place (under the current task starting at the same indentation as the one before) and click Add.
Check if resources would be deleted
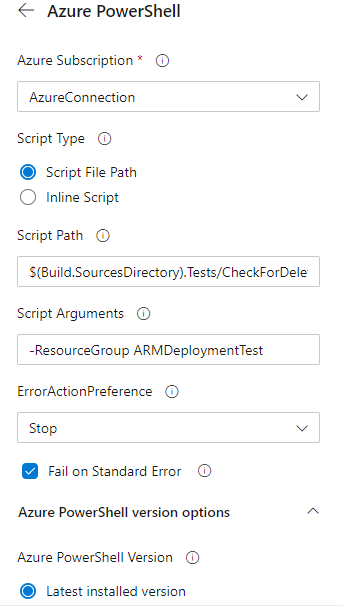
For the next task, you follow the same steps, but this time we will use a Script File Path. We will use the script in the repository under tests. Find the direct link here
In Script path, enter the path to the file. Here we will use $(Build.SourcesDirectory)/Tests/CheckForDeletion.ps1
In arguments, you can enter the parameters. For this example, you would enter the same resourcegroup as we used before
-ResourceGroup ARMDeploymentTest.
Enable Fail on standard Error.
Again, put your cursor in the right place and click Add.
Note: For this example, the deployment mode is inconsistent. I have first used incremental and after that complete. I did that to show what the script that checks for deletion does. For your use case, choose the one that works best for you and use that for both tasks.
Add a displayname
One thing that the assistant doesn’t add to the tasks, is a display name. This will help keep tracks of your tasks. You enter it with the same indentation as the task itself:

We now have the first stage of our pipeline ready. Let’s save it to see if everything works.
At the top right, click Save and run.

In the next menu, click Save and run again.
The pipeline file will be added to the GitHub or Azure DevOps repository. You can follow it’s process as it starts
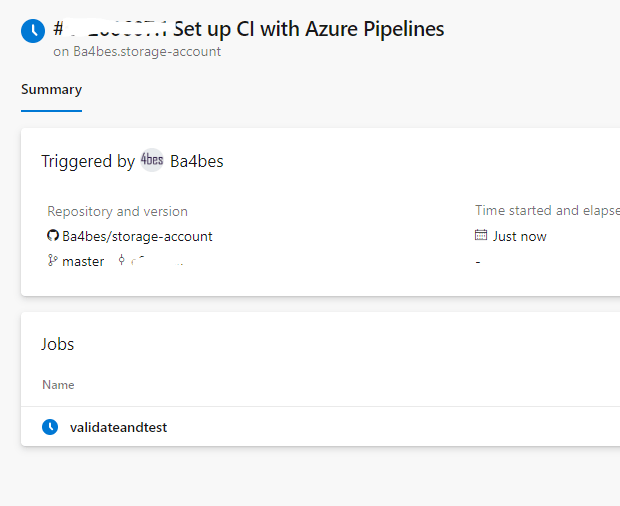
When the job is finished (or before that), you can click on the job to see the results.
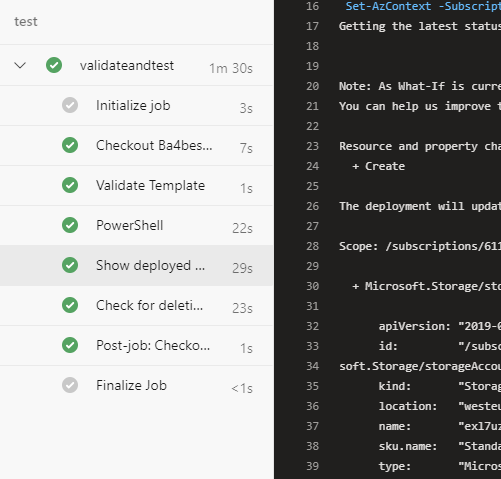
So here I can see that the pipeline tests have run successfully. I can check the results of the step Show deployed resources to see if the results are as I expect. Now it’s time to move on to the deployment stage.
Deployment
Open up the pipeline again to create the deployment part. To do so, open Pipelines through the the menu, click on the pipeline you want to change and select edit in the top right corner.
Now enter the following:
Some new options are used here:
Condition
For each stage, you can set conditions for it to run. You can combine different conditions and use different variables. In this case, the yaml says that this stage will only run when the commit that triggered the pipeline was to the master branch. Next to that, the stages that have run before this stage have to be successful. So this provides some security before a deployment happens.
DependsOn
With this option you can set up a Stage or multiple stages that have to run before this stage can run. If you don’t define that, this stage could run before a the testing stage. We don’t want that to happen! So DependsOn can help you create structure.
Now it’s time for the actual deployment. To do this, you can use the ARM template deployment task again, just like we did in the testing stage. The only difference is the deployment mode. Change that from validation only to Incremental or Complete.
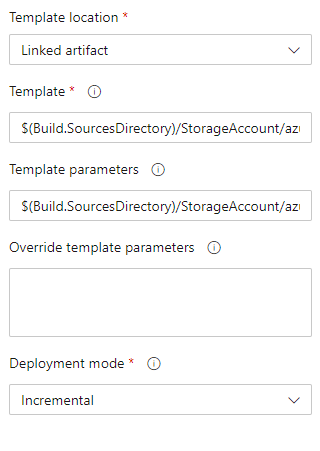
Add this to your pipeline like you did before.
Now you can click save. Do note that we have been working in master. This means that as soon as you save this to master, the deployment will run. If this is not what you want, you could commit to a different branch to see the results first and create a pull request after that.
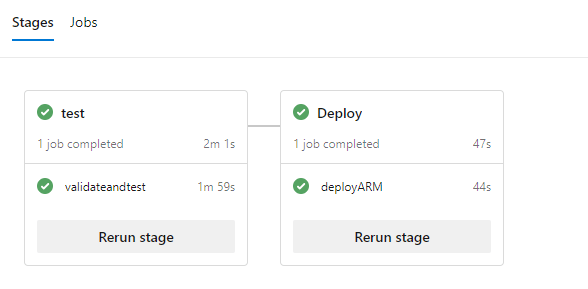
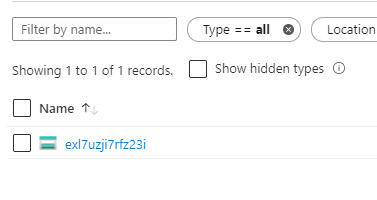
In my example I did save to master and the pipeline deploys the storage account to my Azure tenant.
Conclusion
So this is how you can deploy an ARM template to Azure with Azure DevOps.
You can find the completed pipeline for my repository here.
Once you get the hang of YAML, I recommend moving towards Visual Studio Code for developing your pipelines. You can use the Azure pipelines extension for that. But the web editor is a nice way to get started.
More possibilities
This is just the tip of the iceberg on all the possibilities that the Azure DevOps pipeline has to offer. I have some blog posts that might help you to get further with Azure DevOps for ARM templates:
Step by step: Setup a Build & Deploy pipeline in Azure DevOps for ARM templates (previous post with visual editor)
Setup a build pipeline in Azure DevOps for ARM Templates Part II: using ARMHelper and YAML
Use YAML Multi-stage pipelines in Azure DevOps for ARM Template deployment
Step by step: Manually Create an Azure DevOps Service Connection to Azure
Getting started with Azure DevOps job and step Templates – Part 1
Azure DevOps job templates Part 2: Create a shared template repository
ARM Template what-if deployment
Great blog!
Thanks!!
I wanted to get in the whole Azure DevOps and had a hard time getting my head around it.
You gave me a hand with a solid first step 🙂
I appreciate your work!
Pingback:Top Stories from the Microsoft DevOps Community – 2020.06.18 - Microsoft Today
Awesome content. I highly appreciate it. Keep it up!!
Thansk a lot for this precious help. It saved may day.
I’ve done devops with other services like Jenkins plus custom tooling. I’m new to Azure DevOps. and have looked at many tutorials and even took a MSFT class on line for four days. I learned more from your tutorials like this one which are so clear and apply commonly used features of devops like this one than I did in the entire week I spent in that class.
Thank you very much for creating these. Devops in Azure is finally starting to make sense.
That is great to hear! Thank you for leaving this comment, means a lot!