There are a lot of reasons to have a website. To run a blog, to have a portfolio, or to show photos of your cat. But creating a website is so much work, costs money and keeping it up to date is complicated. Or is it?
In this post, I will show you how you can use Hugo to design and deploy a website to GitHub Pages. In my experience this method is fun to practice with. Let’s see how we can create a website with Hugo and GitHub Pages.
What will we create
In this post, we will walk through an example website. I will take you step by step so you can follow along. This will be a very simple blog setup. The goal is to get familiar with the process so you can start creating something for yourself.
Prerequisites
- A local environment with Visual studio Code installed
- A free GitHub Account
- Git and basic knowledge on how to use it. If you are new to Git, you can visit this post to help you get started.
- To write content in a Hugo website, you need to be familiar with Markdown
Note: I am working on a Windows environment, but most steps should but similar in MacOS or Linux.
Install Hugo and the VSCode extension
First, we need to install Hugo on the local computer. There are a few ways to do this, which you can find here. To keep it simple for this post, I am going to use chocolatey. If you do not have chocolatey installed, you can install it using the instructions here or see if any of the other methods work better for you.
After installation, open a PowerShell window as an administrator and run the following:
choco install hugo-extended -confirm
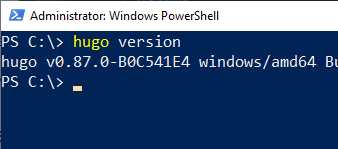
Confirm if the installation works by typing hugo version
Create a GitHub repository
Now we need to create a GitHub repository. To do that quickly, open https://github.new.
You have two options for the name:
- Name the repository <username>.github.io. Your website will be published at https://<username>.github.io
- Give the repository a descriptive name that fits your goal, which will be a subsite of your domain. So for example https://<username>.github.com/<repositoryname>. You can do this if you want to create a subsite or if you are already using your main URL.
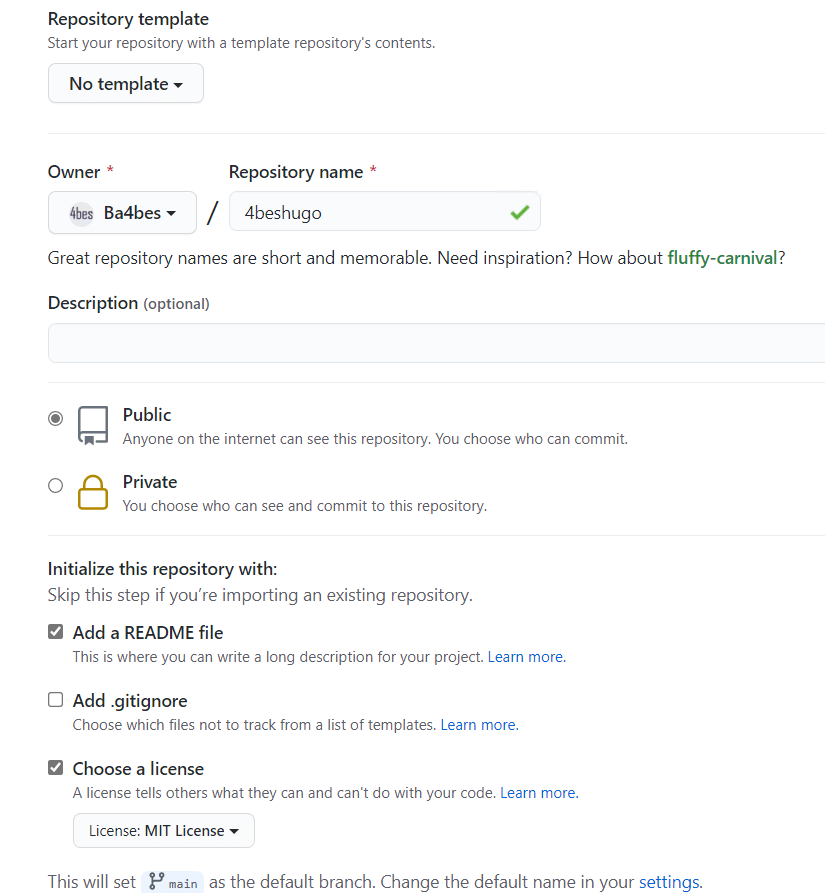
For this example, I create a repo called 4beshugo. The visibility will be Public and I will initialize it with a README and a MIT-license, like in the screenshot below:
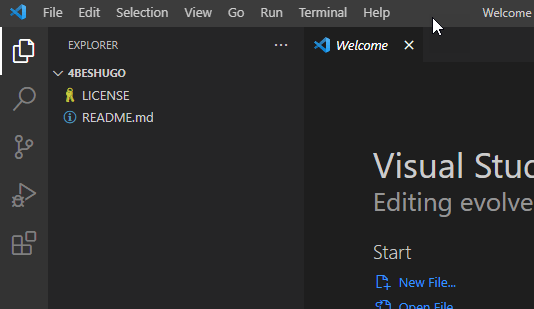
When the repository is created, clone it to your local computer. Open the repository in Visual Studio Code.
Create a new Hugo Project
Let’s start with a hugo project. To do that, you use a hugo command.
First, open de terminal by pressing ctrl + `
Now use the following command:
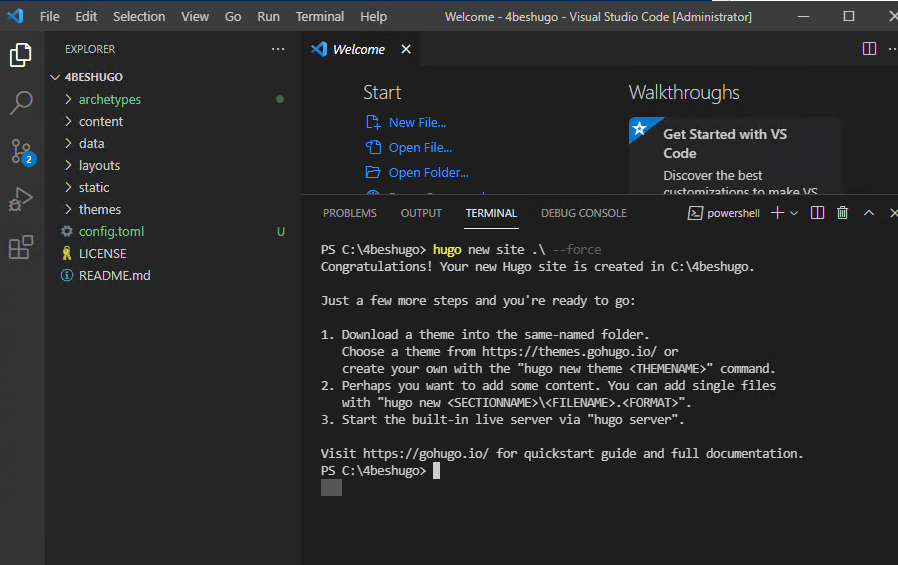
hugo new site .\ --force
Note: you use
--forcebecause the folder we are using isn’t empty; the readme and license are in there.
A new file structure is created for you
Install a theme
Now we need to add a theme. You are able to create one yourself, but you are also able to use one from the Hugo library.
The good news is that there are a lot of different themes available for a lot of different use cases.
The bad news is that they all work a little differently. So you are not able for example to change a theme just by adding a new one. The configuration depends on the theme. Fortunately most themes have very clear documentation and are fun to work with.
For this example, let’s try a blog theme. We will use one of the most popular blog themes at the time of writing: hello-friend-ng.
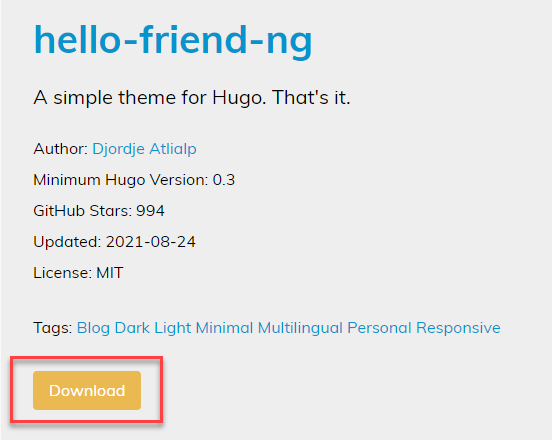
Click the above link and then click the download button
This will bring you to the GitHub repository where the code of the theme is stored.
If you go down to the Readme, you see an explanation of how to use the theme. Most themes will provide this for you and they are very helpful.
For this theme, configuration is kept simple: you need to add the theme as a submodule and change the config file.
So first, we add the theme as a submodule by using the command from the readme:
git submodule add https://github.com/rhazdon/hugo-theme-hello-friend-ng.git themes/hello-friend-ng
This will add the theme files to the theme folder
Sometimes you need to do more actions, which depends on the theme. You pretty much always have to change the config file though.
Change the config file
If we look at the readme of the theme we use, it gives us a config file we can copy and paste.
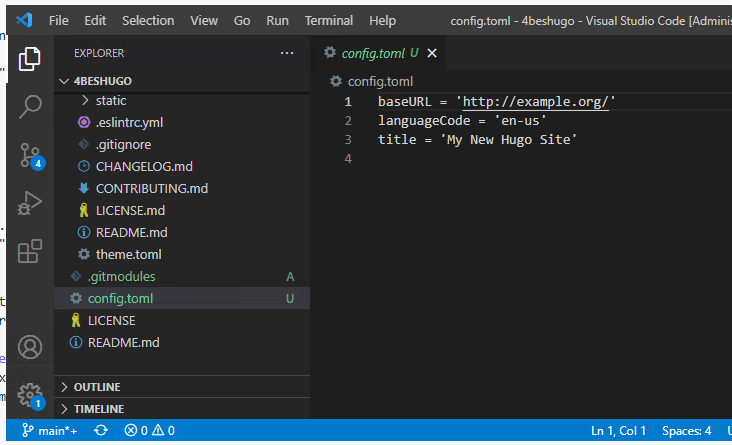
The config file by default is config.toml, which you can find in the root folder.
Copy and paste the code block from the readme into this file. Every line that starts with a # is a comment to help you with structuring your file. A lot of these options also speak for themselves. I have changed a few settings in my example site, which you can find here.
Note: I changed the URL for my situation. Don’t do that yet in your repo, leave it at localhost. I will explain that part later.
Tip: Use the Better toml extension to get some help with formatting in VSCode
Run your website locally
You are now already able to run your site locally. To do so, use the command
Hugo Server
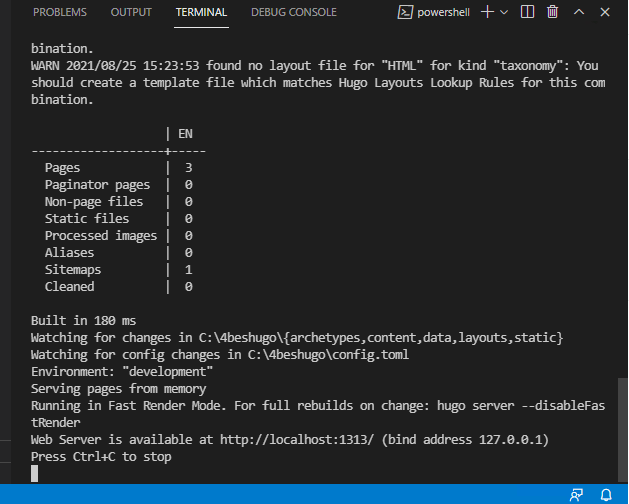
The output tells you at the bottom how to reach your website:
Web Server is available at http://localhost:1313/ (bind address 127.0.0.1)
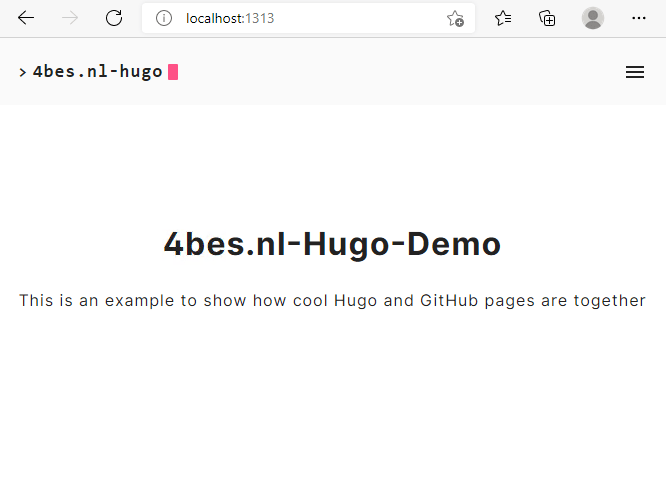
Now if you open a browser, you can enter http://localhost:1313 as the URL and it will open your website for you
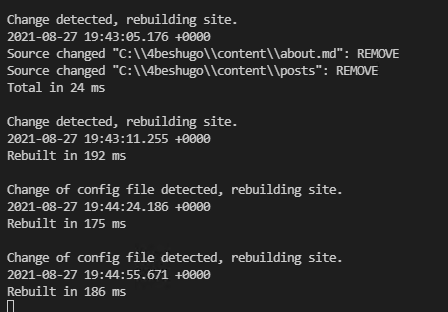
Now there is something that is very handy when you are developing a new site: This site will update when you change something.
As long as the Hugo Server process is running, changes you safe will automatically be build into your example site. This means your development process becomes very smooth.
Add content
What is a blog without posts? Let’s add one. First, we set the templates.
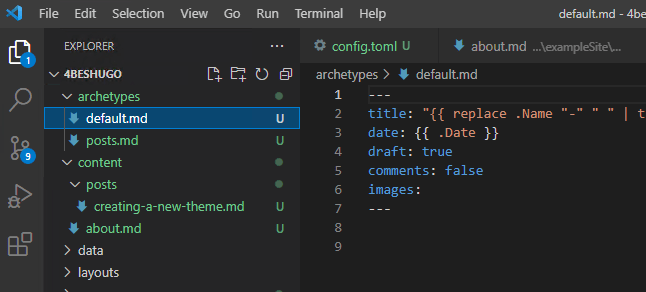
Posts are based on a template. That template structure depends on the theme you are using. To make the most out of these templates, copy the files you can find under themes/hello-friend/ng/archetypes to the folder archetypes. Overwrite the default.md file.
You can now automatically create the posts. Do this with this command:
Hugo new posts/examplepost.md
This creates a new file in the content-folder that you can use as a base for your post. Put some text in there.
Note: By default, the posts is a draft. Change line 4 to
draft: falseto make sure the post is visible.
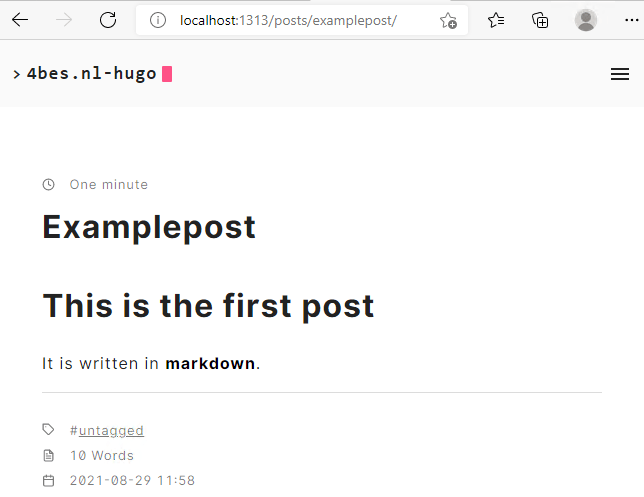
Now if you use hugo server again (or maybe it is still running?), you can visit the website, open Blog and find your post.
Generate the website
Everything we have worked with was more or less a backend of the website. We are now going to use Hugo to generate the website so it is viewable from GitHub Pages.
We have to make two extra changes to the config.toml file to make this work with GitHub Pages.
PublishDir
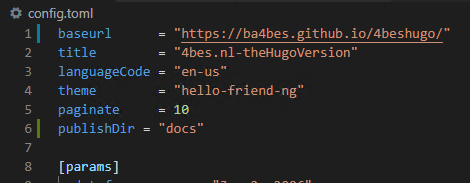
By default, your generated website is stored in a folder called public. But we need it to be stored in a folder called docs. To do this, add the following line to the config:
publishDir = "docs"
baseURL
The baseurl is an important part, it defines how your site can be reached. So this URL needs to be true to the real world. To make your website reachable in GitHub pages, use https://<username>.github.io/ as the URL, or https://<username>.github.io/<repositoryname> if your repository is not the main one. If you use a custom domain, you can enter that here as well.
Note: if you use the first option, your local environment will get some trouble because of the subdomain. So if you use that, don’t forget to change it back for local development.
it should now look something like this:
Now we can generate the website. To do this, you only have to enter one command:
Hugo
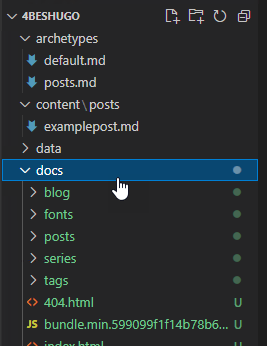
After you run the command, a new folder called docs is created. This is where you can find the files for your site. We are ready to publish.
Push to GitHub
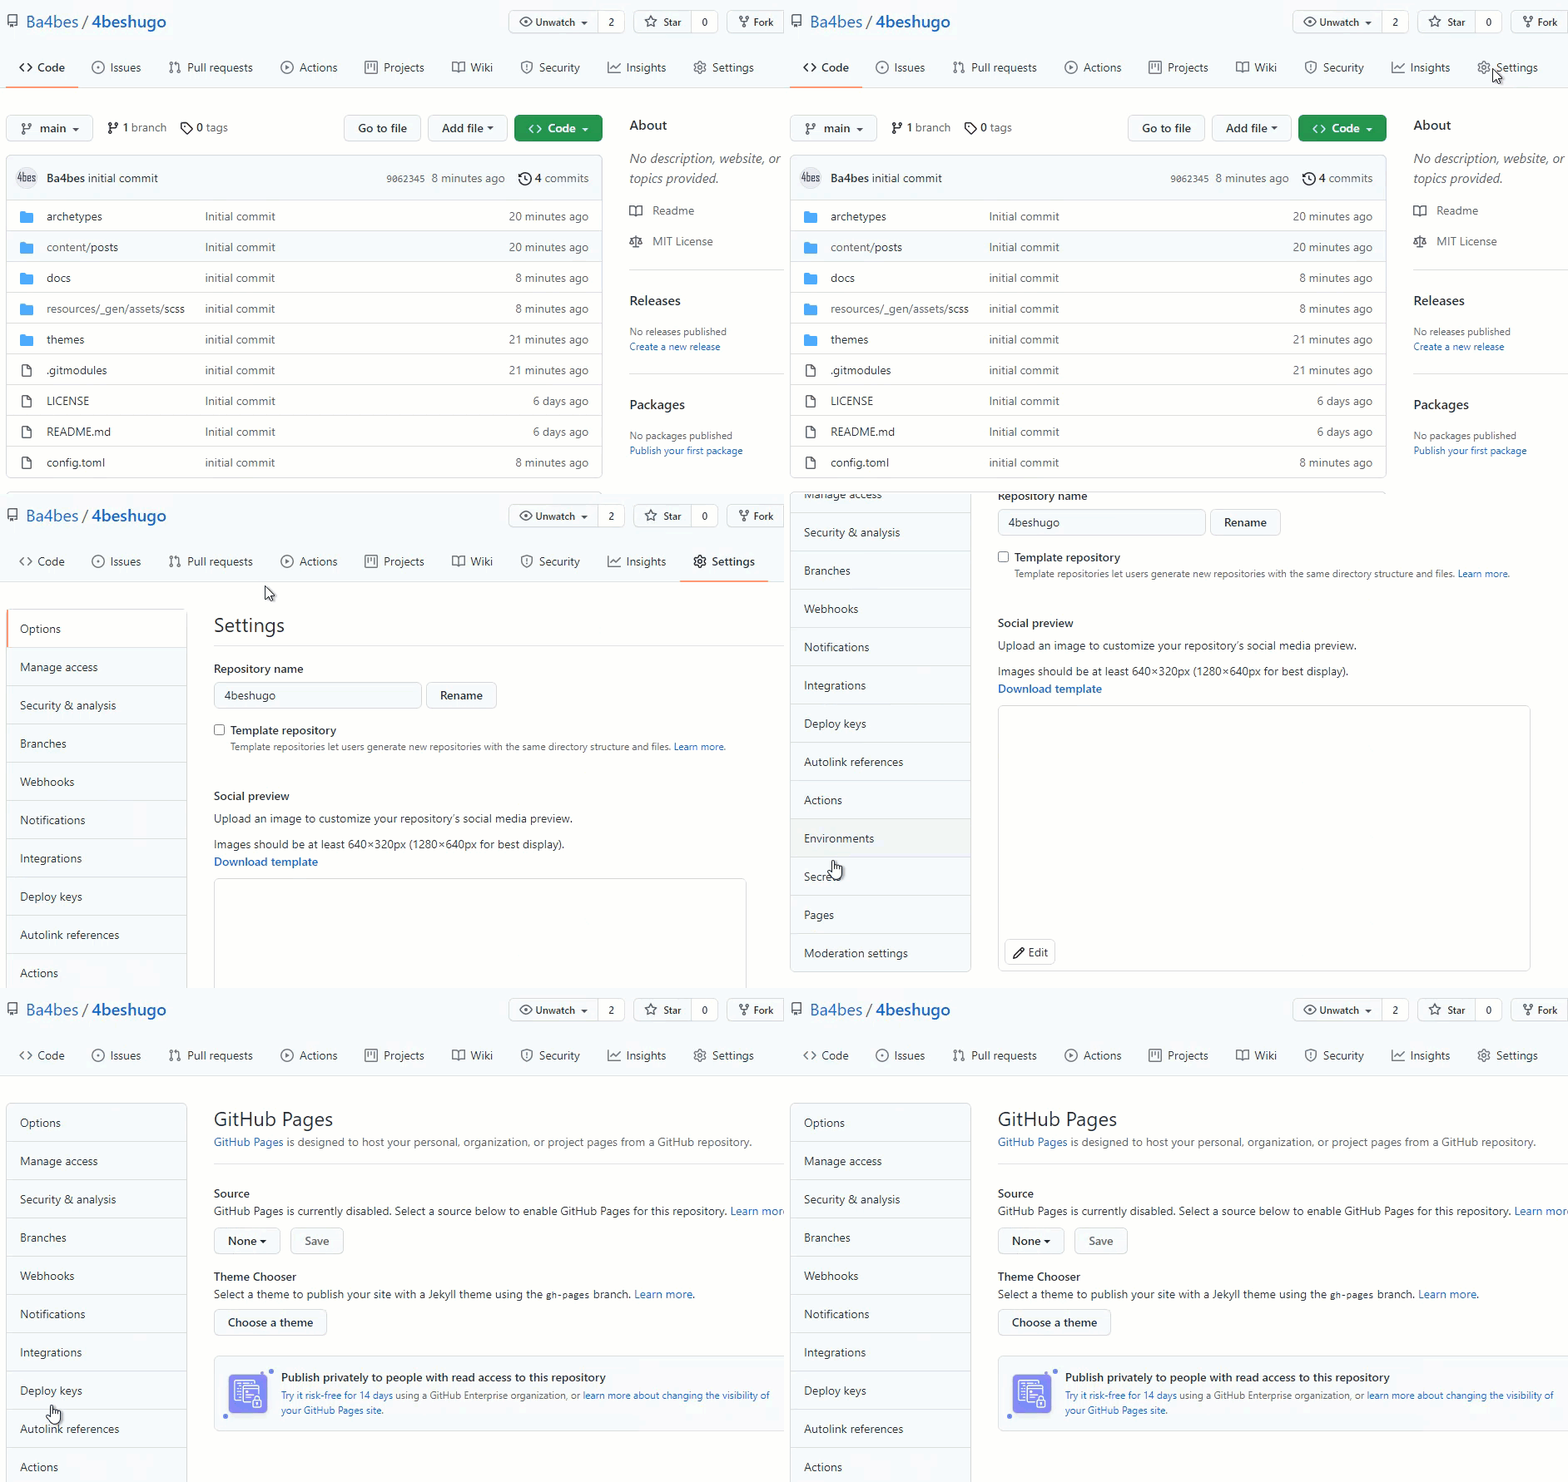
Let’s make our website available to the world. To do this, first commit and push all your new code to the GitHub repository. Open the repository in the webbrowser.
Configure GitHub Pages
You need to activate GitHub for the repository. To do that, open settings at the menu at the top. In the settings screen, choose pages.
The page states that GitHub pages is disabled. To enable them, click None under Source and select the main branch. A new option appears that is set to /root. Change it to /docs (this is why we renamed the folder to docs in the config.toml file). Click Save.
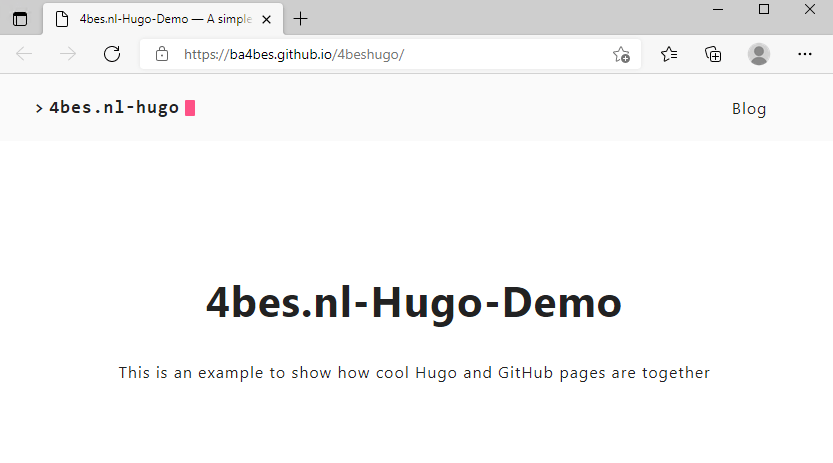
Now you can see the URL of your website:
If we visit the URL, it shows our website:
Conclusion
So this is how you create a website with Hugo and GitHub Pages! Now this is just a tip of the iceberg for all the possibilities. You can set your own custom domain, create a CICD pipeline, add images, change the theme to your needs, add comments… I hope this post will help you to get started and a base to work of for your own exploration. If you have any questions, leave them in the comments!
If you want to see my repository for my website, you can find it here.




Thank you very much. I manage to fix my issue with my website thanks to your very clear instructions.
Hi,
Do you know why when I use the command “hugo” the css generated is not in accordance with the current one of the theme?
I am not sure, it should be. What theme are you using and what is the difference?
Hi there! Once I push my docs folder to Git Hub there is a formatting error between what I see in the local hosting webpage rendition and the GitHub url rendition. Here is the Repository that I created:
https://github.com/aandrin25/aandrin_portfolio3-github.io
I’d love to try to get a second pair of eyes on this.
Hi Averya,
It seems your repository doesn’t exist or is private.
If the rendition is different, it is often a problem with the reference to the theme or the baseURL. You can check if the baseURL is correct and if the theme is in the correct folder